
Large Planters and a Low-Maintenance Rock Garden

If you’re looking to spruce up your landscaping, there are few directions you can go that are as versatile, lovely, and low-maintenance as a rock garden. You can create a truly picturesque scene from every angle with some rocks and a few well-placed plants in visually appealing planters. Learn how to start building your ideal rock garden and cut down on landscaping time. The first thing you’ll want to do when considering a rock garden is to make a plan. A couple of things that you should consider are:
Where you want the rock garden to be
What type of rock compliments the aesthetic of your current landscaping
How you can best utilize your space
Also, remember that the best time to start preparing a rock garden is during the autumn season. This provides a rock-setting environment that’s free of brush that would otherwise make it difficult. Further, it gives you plenty of time to think about and plan for the plants you’ll be incorporating come spring!
Choosing the Perfect Spot
When starting your rock garden project, one of the most important things you can do is to choose just the right spot for it. You can put our planters on your patio or poolside, but there are a few key factors that you should be on the lookout for when determining where to put your rock garden. PolyStone Planters™ are lightweight and can be moved around easily making it hassle-free to see what area of your outdoor space would be best for a rock garden.
Make Sure Plants Will Get Enough Sunlight
You, of course, want to take into account the amount of sunlight the area offers. A moderate amount of sunshine is vital to the health of your plants, so do what you can to create your rock garden in a more open, spacious area. Make sure you pay close attention to how much sunlight your chosen plants require-some actually do better with a little bit of shade.
Avoid Frost Pockets
It’s also a good idea to keep from planting in or around frost pockets. These are sections of your garden that may be prone to delving into lower temperatures, usually due to shade, forming harmful frost. Our planters are insulated using a high-density EPS core that will protect roots in cold temperatures (down to -30 F), but you should still be wary of frost pockets if you want to create a successful rock garden.
Don’t Worry About Drainage
Normally, drainage problems are a huge concern when creating a rock garden, but if you choose to use planters in your rock garden, you won’t have to worry about roots rotting due to water not draining. All of our planters have holes and exit channels in the bottom that allows water to drain and maintain healthy roots.
The Best Stone and Rock Options
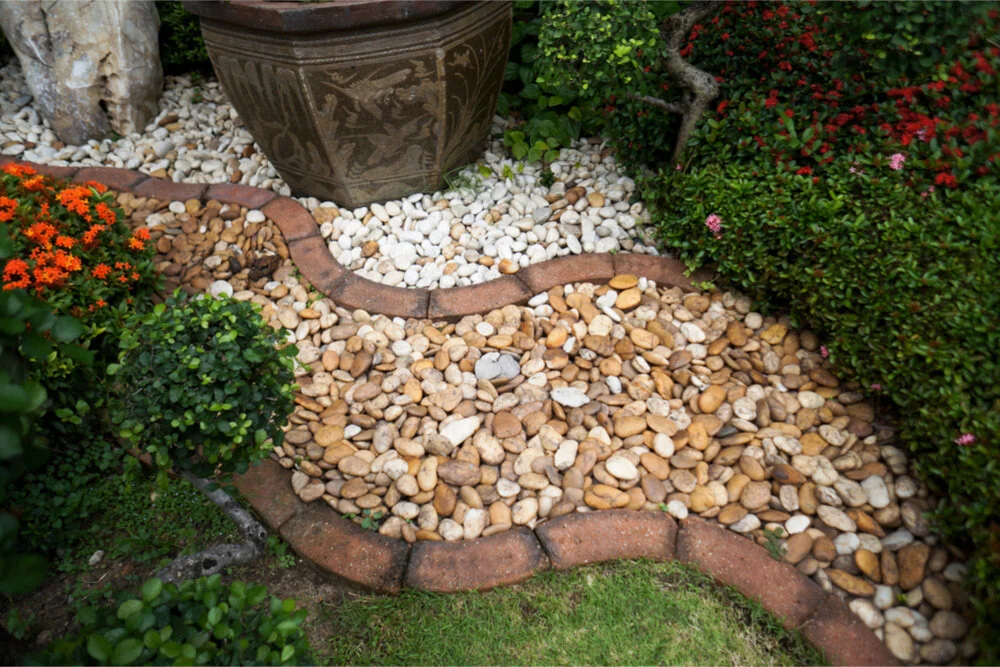
If you are into the more rustic, untamed look, sandstone is a viable option due to its medium nature in terms of alkalinity and imperfect texture; you may also want to look into using white or grey gravel if you are into this aesthetic. Polished black stones, on the other hand, can give your rock garden a beautiful, clean, modern look (see below) and when paired with the perfect planter, can make your modified rock garden virtually maintenance free. It is also a good idea to purchase second-hand rock (as opposed to new) in order to reduce the overall cost of your project.
Once everything is prepared and in place, you can officially begin work on your rock garden.
Setting Up the Rocks
To begin, you will need to mark the area properly using the marker spray. After this, get rid of all the weeds in the area and set up a base. This base should be about 6 inches deep and composed of various types of rubble and stone, or even ballast.
The rustic look: Begin by choosing larger rocks to place; these will serve as the base for all the other smaller rocks you will then place around them. Once these rocks are chosen, lightly dig the ground where you want to place the rocks (feel free to use a crowbar, as this makes the process easier). Support the large rocks with the smaller rocks now.
The modern look: You will need to make a barrier around your planter with concrete blocks, bricks, or create an inset. Place your planter inside of this barrier and surround it with the polished rock of your choice.
Other Tools & Items You May Need
Before you begin the process of placing the rocks and planting, make sure you have everything you’ll need on hand. Here’s a quick list for your convenience (depending on the scope of your project you may need more items if you are feeling overwhelmed don’t be afraid to bring in a professional landscaper to help you out):
Marker spray or bottled pale sand
Herbicide (optional – if you don’t want to weed by hand)
Rubber, stone, or ballast (for the base)
Soil and fertilizer
Spade or shovel
Large planters (Check out our popular Milan Trough Planter)
You now have some basic knowledge on how to create a stunning, low-maintenance rock garden! After your rock garden is fully installed, you will find that it is a breeze to take care of.