
Planter prep makes perfect.
Give your container garden the right foundation.


Your plants and flowers are the showstoppers of your container garden, yes, but they can’t do all that show stopping without the proper foundation to support them. Building the right base for your greenhouse goodies keeps their wow factor going longer with less work for you. Win-win.
It doesn’t take much time, money, or special skill to prep your planter. It just takes a few basic materials and a willingness to get your hands dirty. Follow our planter preparation steps to grow a flourishing container garden from the bottom up.
1. Verify your planter’s drain holes.
It may seem obvious, but your planter needs holes in the bottom to drain water. You wouldn’t believe how many plants we’ve seen die from root rot because no one checked for drainage holes. Avoid that horticultural heartbreak and check for drain holes before you plant. PolyStone planters have drainage holes with exit channels so you’ll never have to worry about swampy soil or drowned roots.
If your planter is made of resin or metal and you’re a confident DIYer, you can drill your own holes with the proper drill bit and safety gear. Highly porous containers, such as woven baskets should drain well without drilled holes.
The number and size of drainage holes you need will depend on the size of your planter. Generally, larger planters need more drain holes.

2. Shield the drain holes.
Once you’ve made sure that water can drain properly from your planter, you’ll need to shield the drain holes. You want water to escape through the drain holes, not soil. Putting down a barrier keeps your garden from making a mess and prevents soil from plugging the holes.
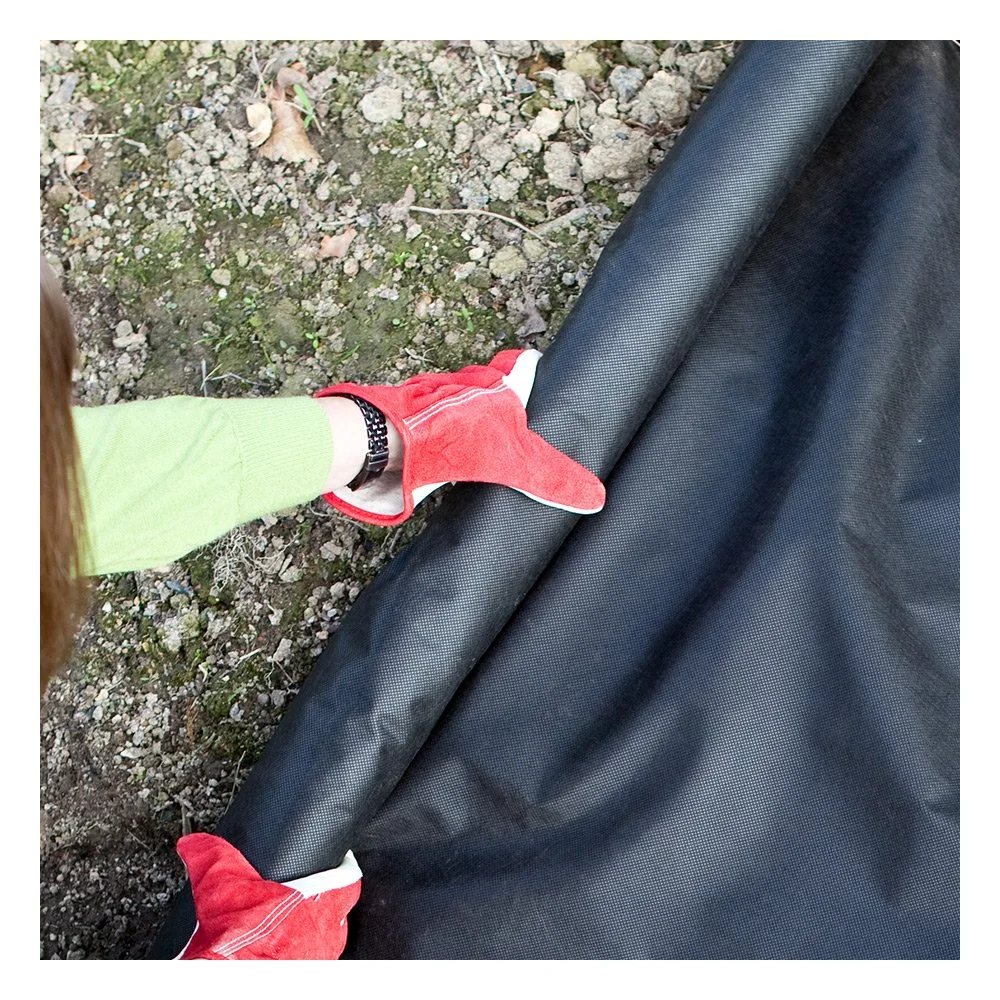
We recommend cutting a piece of weed barrier fabric—also called landscape fabric—that covers the inside bottom of your planter. The durable, lightweight material lets water through, keeps soil in, and allows oxygen to permeate throughout the container.
3. Create a drainage zone.
On top of the weed barrier fabric, place a layer of rocks three to four inches deep. We recommend river rocks or lava rocks for superior drainage, but other rocks can work if you have something else on hand. You can often buy these rocks by the bag at a hardware store or greenhouse.
The drainage zone you create with rocks gives the soil plenty of oxygen, a must for a healthy plant habitat. An added benefit of using rocks? They weigh the planter down so it won’t tip over, even on a windy day. Before you add soil, place another layer of weed barrier on top of the rocks. This keeps the soil where it should be while still allowing for water drainage.

4. Use the right soil.
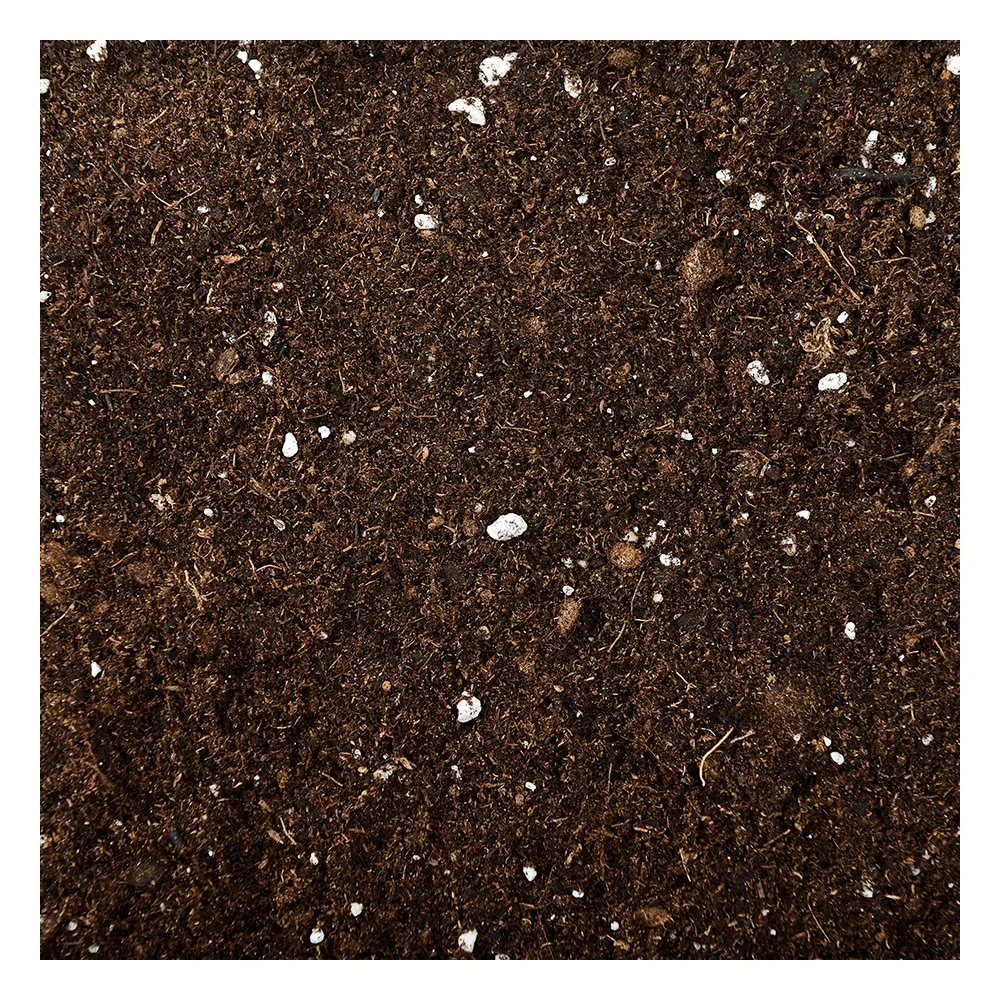
One benefit of container gardening versus in-ground gardening is that you don’t have to till and amend the soil. That’s because you can choose the perfect soil for your plants from the start. Using potting soil instead of dirt from the ground will make your plants happy and healthy. Dirt in the ground is too heavy and dense to maintain healthy plant roots. Potting soil is specially formulated to have the right texture and porousness for your plants.
Fun fact: potting soil contains no actual soil. It is typically made of ground tree bark, peat moss for moisture, and vermiculite or perlite to improve soil conditions. Certain plants, like orchids or cacti, need special potting mixes, but most plants will thrive in a general potting soil mix. Fertilizer can be added later for nutrition. At the start, though, fertilizer is not needed and could burn new plant roots.
Prepping your planter with the right layers.

Exact depth of each material varies based on plant choices and drainage needs. Top soil alone is not ideal for above ground planter boxes & pots. If top soil will be used, it should be mixed with composted manure, and perlite/vermiculite.
Pro Tip: When you fill your planter with potting soil, don’t overdo it. Do not fill it all the way to the top with soil. Leave an inch or two from the top of the container. That way, when you water, you won’t have any spillage and your plants will get the water they need.
5. Test the drainage.
Once you have everything but the plants in your planter, water the soil until you see water drain out the bottom. If all goes well, you can be sure that your plants will get the right amount of moisture—not too much, not too little. If you’re not seeing water come out the bottom, review the previous steps and make sure you didn’t miss any. If all else fails, add some extra drainage holes.


We know that container garden preparation is not exactly glamorous. No one sees the layers hidden in your planter. But they will see the results of your preparation, so set yourself and your plants up for success. Build a better garden from the base up and watch your plant babies thrive.
At PolyStone Planters, we’re committed to equipping you with lightweight, durable and stunning planters that exceed your expectations. We make container gardening easy, elegant and enduring.